
If you’re a GoPro enthusiast, you probably have a collection of exciting footage that you can’t wait to edit and share. But before you can get started, you need to know how to connect your GoPro to your computer. In this article, we will guide you through the process step by step.
Step 1: Gather the Required Equipment
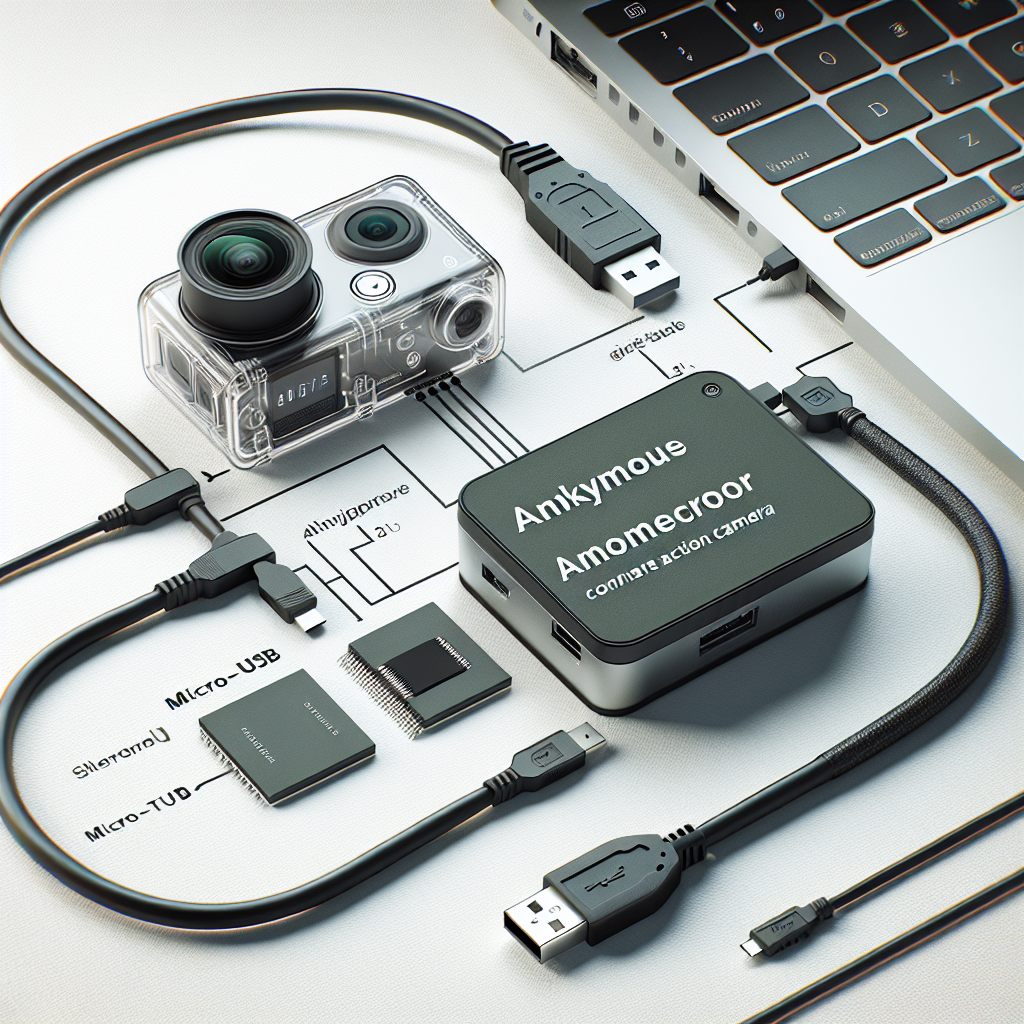
The first thing you need to do is gather the necessary equipment. You will need your GoPro camera, a USB cable, and a computer with a USB port. Make sure your GoPro is charged before proceeding.
Step 2: Connect the GoPro to the Computer
Take the USB cable and connect one end to the USB port on your GoPro camera. Then, take the other end and connect it to the USB port on your computer. Be sure to firmly plug in both ends.
Step 3: Power on Your GoPro
Once the GoPro is connected to your computer, power it on. Your computer should detect the connected device and automatically install the necessary drivers.
Step 4: Access Your GoPro Files
After the drivers are installed, you can access the files on your GoPro through your computer’s file explorer or media management software. The GoPro should appear as a removable storage device.
Step 5: Transfer and Edit Your Footage
Now that your GoPro is connected to your computer, you can transfer the footage you want to edit and share. Simply drag and drop the files from your GoPro to your computer’s hard drive.
Once the transfer is complete, you can use your preferred video editing software to import the footage and start editing. You can also copy the files to a cloud storage service for backup and easy access from other devices.
Conclusion
Connecting your GoPro to your computer is a straightforward process that allows you to transfer and edit your footage with ease. By following the steps outlined in this article, you’ll be able to unleash your creativity and share your amazing videos with the world.